Table of Content
The two transistor T1 and T2 are in series and those T3 and T4 are also in series. The base of all four transistors are protected y current limiting resistors R1-R4. The base signals of T1 and T4 are the same and that of T3 and T2 are also the same. All four transistors are used as simple switches here. Use a host device that will be mounted on wall and will have connection to all your home appliances like lights, fans, etc and to all the sensors.

FIG 8 This screen displays the author involved in developing the application. FIG 5,6 From this Sensomate window, you can program the threshold values for your two lights and fan. You can also program your motion sensor to raise an alarm if it detects a motion.
Step 5: Setting Up Twilio Account for text messages
When the microcontroller is powered up it reads the eeprom for recovery of all programmed sensomate values and device states that whether which device was ON/OFF the last time the power failed. Then after recovery, it read all the sensor readings and process them accordingly in meaningfull values. After that the microcontroller checks the sensor readings against the programmed sensomate values and turns ON/OFF the appliances accordingly. The checking of fire occurance and LPG leak is done here in this main loop only.

At last, as it uses Bluetooth the user can use the android phone within a range from m . Started in 2012 NevonProjects an initiative by NevonSolutions Pvt. Ltd grows exponentially through its research in technology. NevonProjects works towards development of research based software, embedded/electronics and mechanical systems for research & development purposes.
Can't find the Project you are looking for; perhaps you have a project idea you need help with ?
When a motion is detected ,the output goes high for a few seconds and comes back to low in case of absence of motion. The main door is driven by the geared DC motor and as it has to close and open the door, it has to be moved bi-direcionally. To do so, we used the four BC107 NPN transistor based H-bridge bidirectional motor driver circuit interfaced to the digital output of the microcontroller. The microcontroller can digitally control the motion and direction of the motor to open and close the door. To display messages and sensor values a 16x2 character LCD is used in 4 bit mode to portB of the microcontroller. Automation is also involved in building management system in which lights, temperature, security devices and other appliances are controlled through a high degree of computer involvement.
Or, perhaps you want to voice automate the lights in your home so that you can get into bed and then turn the lights out. Or, perhaps you want to be able to control your sound system from any place in your home. No matter what it is you are looking to accomplish, home automation products are probably available to help you to make it happen.
Arduino Uno board
The home automation device that you build can be integrated with almost all the home appliances and can be used to control them remotely from any part of the world. In this project, you will build a Voice Controlled Robot that can be controlled through voice commands. You will also build an Android App which will understand your voice commands and control the Robot to perform specific tasks via Bluetooth. If appliance are running and suddenlypower goes off. Appliance does on automatically everything need to switch on again from mobile phone. Make sure you pair the Android Bluetooth with the Bluetooth connected in the circuit.
You can build the project using online tutorials developed by experts. T4tutorials.com needs to review the security of your connection before proceeding. I need this diagram could you please can send me All components and circuit diagram? I would like to know what happens if the arduino board is powered for a long period of time.
It also requires a lot of programming to be done to make it work. Besides, this technique is costlier as we are using sensor and many more things, to control the respective appliances. In this era of technological advancement, we use automation for everything. There are many techniques to control devices automatically using Arduino, raspberry pi, which requires internet and some more modules to make it work. This project-based course involves you to build multiple Embedded Systems projects and helps you develop a good understanding of Embedded Systems practically.

It operates the loads through a set of relays using a relay driver IC. Relays are used between loads and the control unit. The android device may be any android based phone or tab having an android OS. The app also provides an effective GUI for providing this functionality. We are showing voice control home automation system to control appliances with own voice command an Android app IoTBoys.
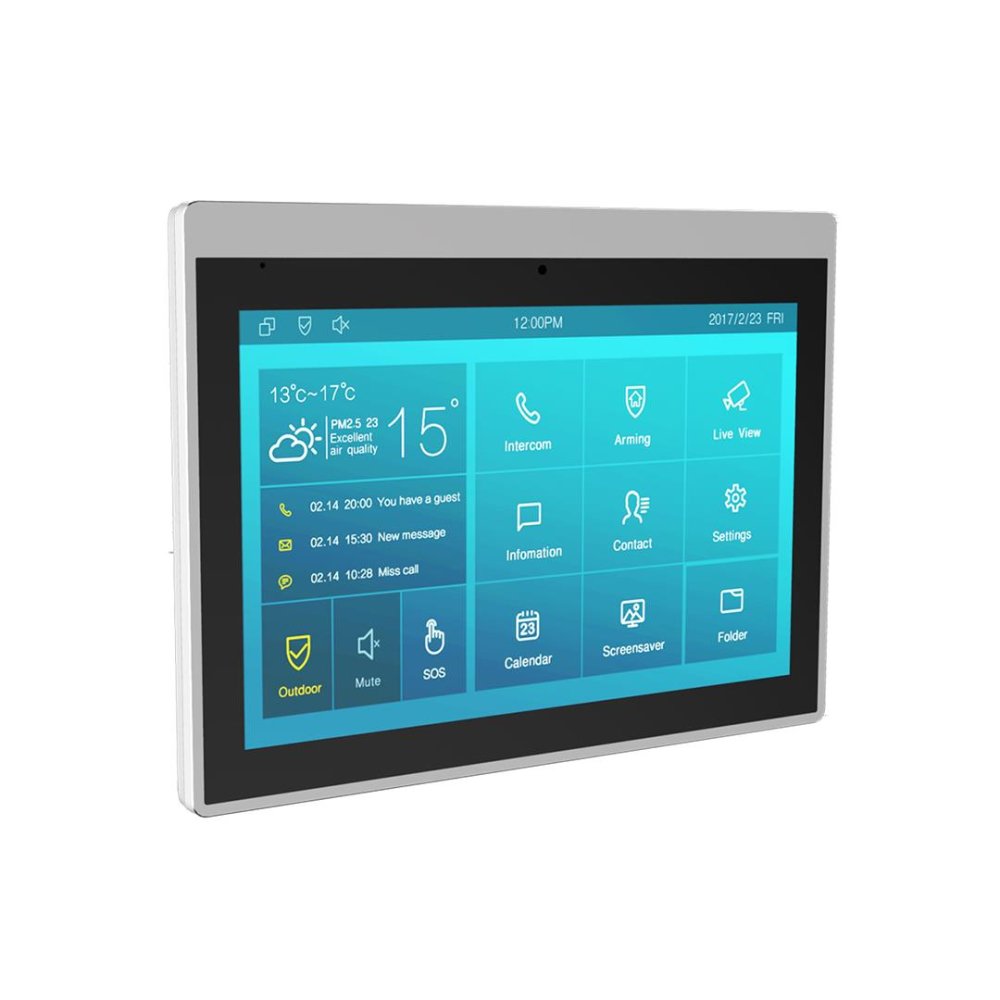
The settings option does not appear where i can connect to the bluetooth. The android app currently supports 320x240 resolution screens,but with a simple designer code script it can be modified to suit any screen size. FIG 2 This is the manual appliance control screen. Here you can manually turn ON/OFF each appliance individually or can simultaneously switch all ON/OFF in one go. The third section programs the serial receive complete interrupt and thus whenever a serial command is received from the android client, it processes it here and actuate the command. This is again an infinite procedure and microcontroller keeps on sensing the arrival of new command.
Rename the 2 labeled value widgets with room1 humidity and room2 humidity and set the inputs as V5 and V7 and map them from 0 to 100 with reading rate of 1 sec. Configure the inputs of history graph as V9 and V8. Put the name room1 temp corresponding to V9 and room2 temp corresponding to V8. Also, make sure that the Permission type field is set to App folder.
You will also need a voice-recognition app on your Android smartphone. If you do not have it, download one from Google Play Store. Now you can control and monitor the home environment from your android smartphone. Name the level h as fire level and configure the input as V12 and map it from range 0 to 1023 and make reading rate as push. Enter the ip address of your arduino yun and select ssh and click open. Enter root as your username and you will then be prompted to enter the password that you chose for your Yún .


No comments:
Post a Comment